Filed in : For Photographers
There is definitely an art to creating eye-grabbing flatlays and I wanted to share some helpful pieces of advice that I think will be beneficial to other artists out there who are struggling with this aspect of their business. First of all, I want to say that I am by no means perfect when it comes to creating flatlays and I am constantly trying to grow my skills. But, I can say that the more you practice, the easier it will become. This I have found to be very true! Take advantage of those few extra frames on a roll of film and practice styling! I will often play around at home just to get in some extra practice. Below are some helpful tips when it comes to styling.
Calligraphy: Pirouette Paper | Florals: Plain Jane Posy
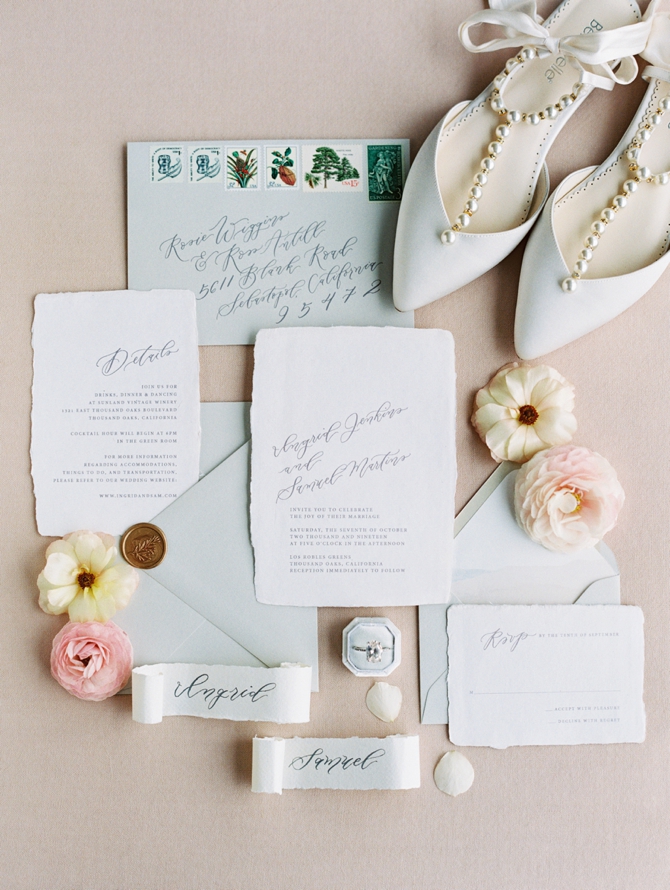
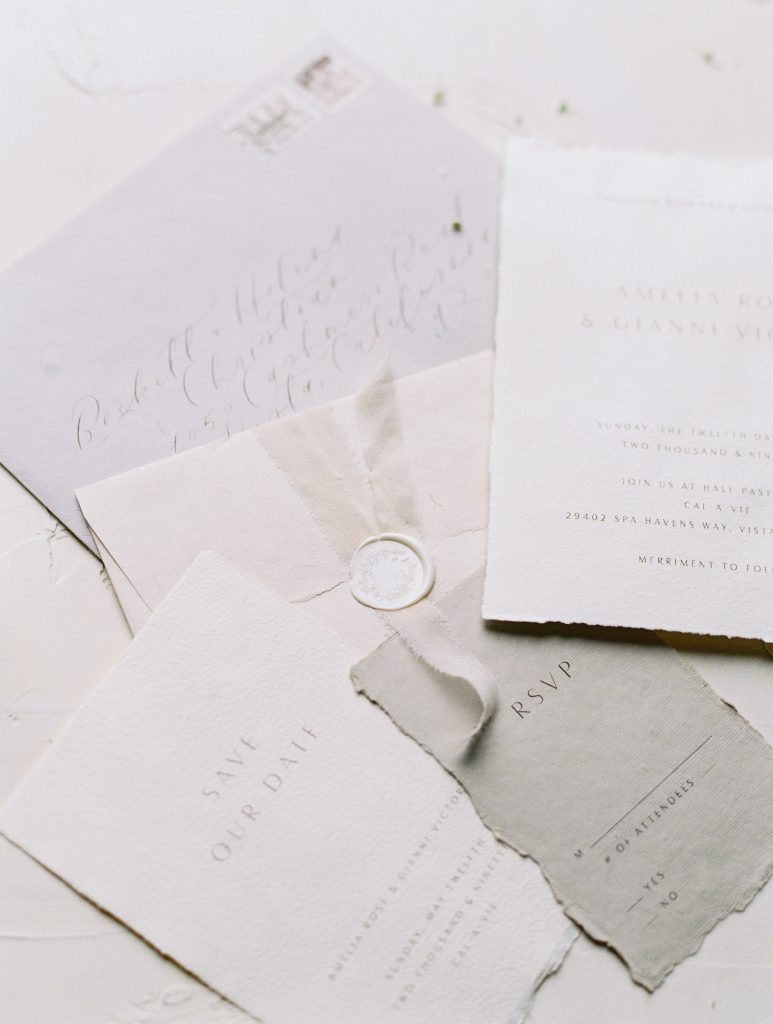
Materials: Having quality materials on hand is very helpful when styling. Finding yourself a variety of different neutral backdrops is a great way to begin. As far as styling boards, I really love Heirloom Bindery and Locust Collection (these are great for traveling because they roll up). It is also beneficial to have an array of different fabrics and textures to pull from. You can order fabrics online or go to your local craft store to purchase some. I also like to have different colored ribbon and other fun little goodies to use in my flatlays. If you want to see what I have in my styling kit, you can take a look at this blog post! See the fabric used in the image below? It really provides beautiful texture to the image.
Florals: Blue Ladder Botany | Calligraphy: Pirouette Paper
Finding good light: When it comes to finding good light, this just takes practice. As you probably already know, window light is optimal if there is enough light to work with. It creates some soft, diffused light which can be perfect for styling details because it is even and constant. Outside in the shade can be great as well, you just want to make sure it isn’t too “cool” toned when shooting. If outside, remember you most likely will be dealing with the natural elements such as wind, etc. You also might need a reflector to bounce light if you have any shadows. However, sometimes I think shadows provide a nice dimension – so for me, it is a case by case basis.
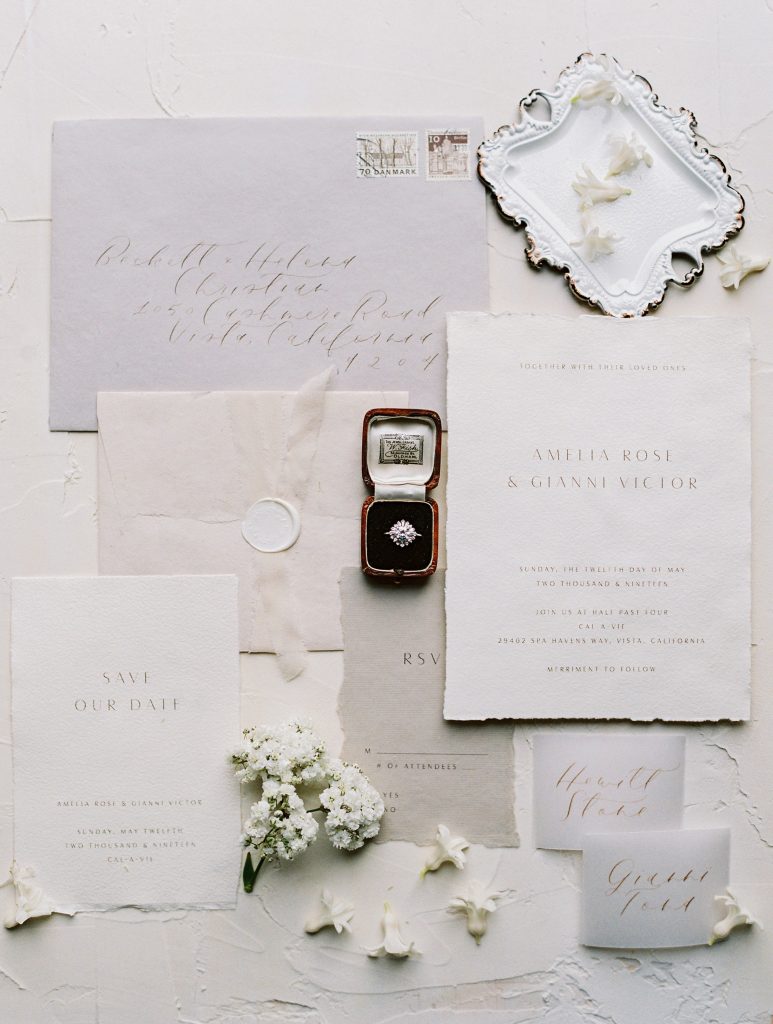
Styling order: You will want to start with the main piece you want to focus on and then add on from there. For example, when styling invitation suites, make sure you begin with the main invite card because that should be where your eye is drawn to first as it is the most important piece out of the bunch.
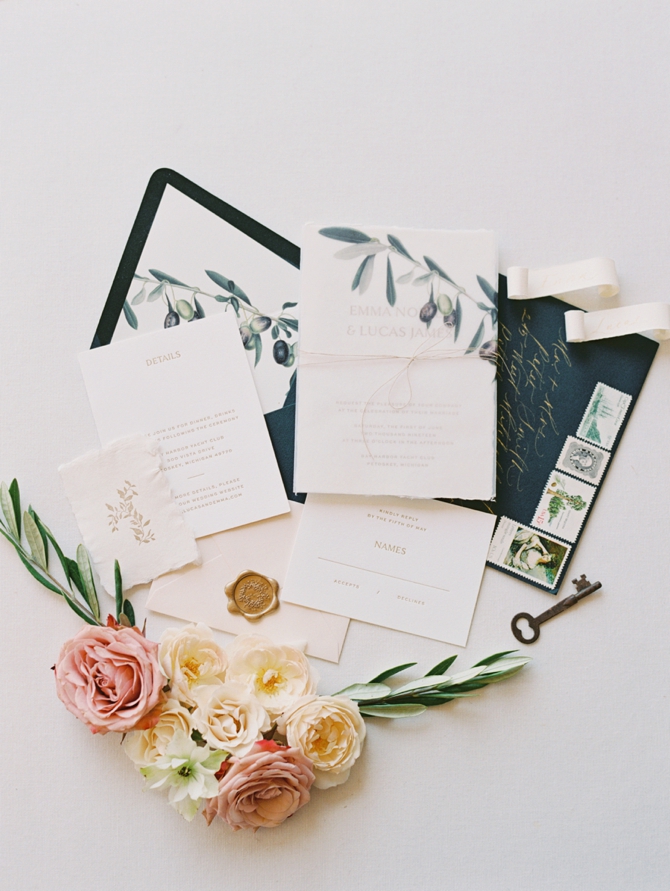
Adding elements: Next you will want to add other elements to your flatlay. This is where your styling kit comes in handy. Take a look at what you are styling. What colors will be complementary and what textures would really elevate the scene? Adding florals is in my opinion always a good idea. They bring life to your images and can also really help with depth and dimension. Think about where you want to place your florals. Do you want them to frame the invitation? etc. I will try to email the florist the week before a wedding to ask if they are able to bring any extra flowers for styling, but if that isn’t possible for whatever reason I will sometimes pick flowers from my garden or neighborhood to bring. I also love going to antique shops to search for unique elements to add to my flatlays. Etsy is a great place to search as well! Take a look at the image below. See how I added vintage stamps to the board? I made sure to keep them neutral to match the colors the flatlay already had.
Calligraphy: Pirouette Paper
Calligraphy: Valentina Glidden | Florals: Modern Bouquet
Florals: Plain Jane Posy
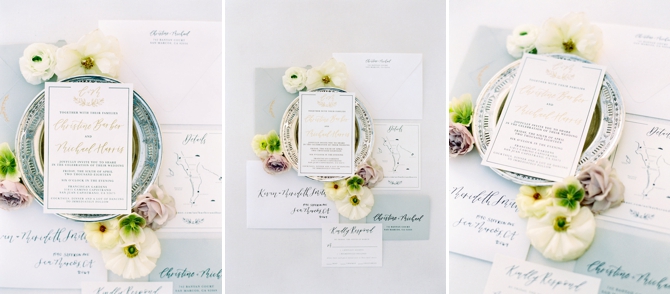
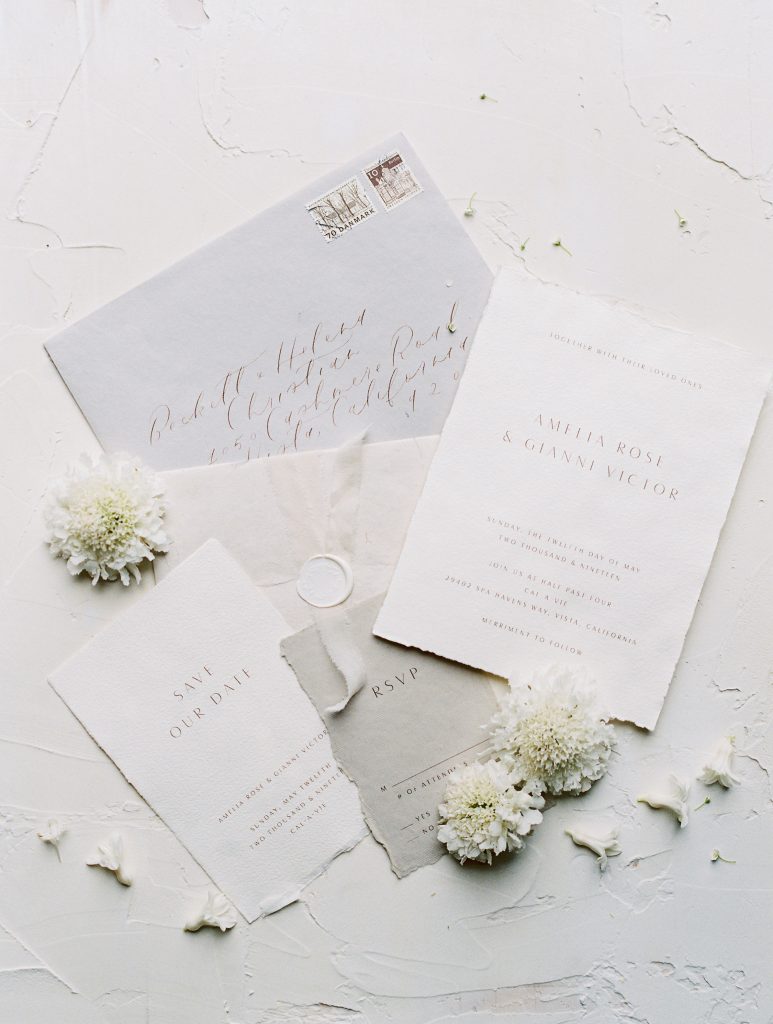
Different angles: Once you have set up your flatlay, you want to make sure you photograph it from a variety of angles. One photo from straight above is an important one to make sure you get. Tip for that, before you shoot your film, take a photo with your iPhone and make sure the grid feature is displayed on your screen. This will help you check if all the corners are lined up and straight. Keep testing it with your phone until you are sure everything is lined up properly. Once you get that shot from above, try crouching down and getting a different angle from the side. Or still from above but cropped a tad. See below for examples.
Calligraphy: Pirouette Paper | Florals: Penelope Pots
Adding levels: Don’t hesitate to elevate different pieces to help bring attention to them as well. I really love using these styling blocks from Heirloom Bindery. They are transparent and let light through so shadows are less noticeable. They are also stackable! You can also use lens caps underneath paper goods to add dimension. Take a look at the image below. You can see how I elevated the main invitation piece.
Calligraphy: Pirouette Paper
Variety: Try arranging your paper goods in different ways for a nice variety. The calligrapher you are working with will love this because they get different photos of their work. It is also nice for them to have some deconstructed styled shots of their work for their portfolio or to show future clients. Straight lines give off a more formal vibe so you want to keep that in mind when styling. Who is your audience? What would your clients prefer?
Calligraphy: Flourish Calligraphy | Florals: Plain Jane Posy
Calligraphy: Flourish Calligraphy | Florals: Plain Jane Posy
Calligraphy: Flourish Calligraphy | Florals: Plain Jane Posy
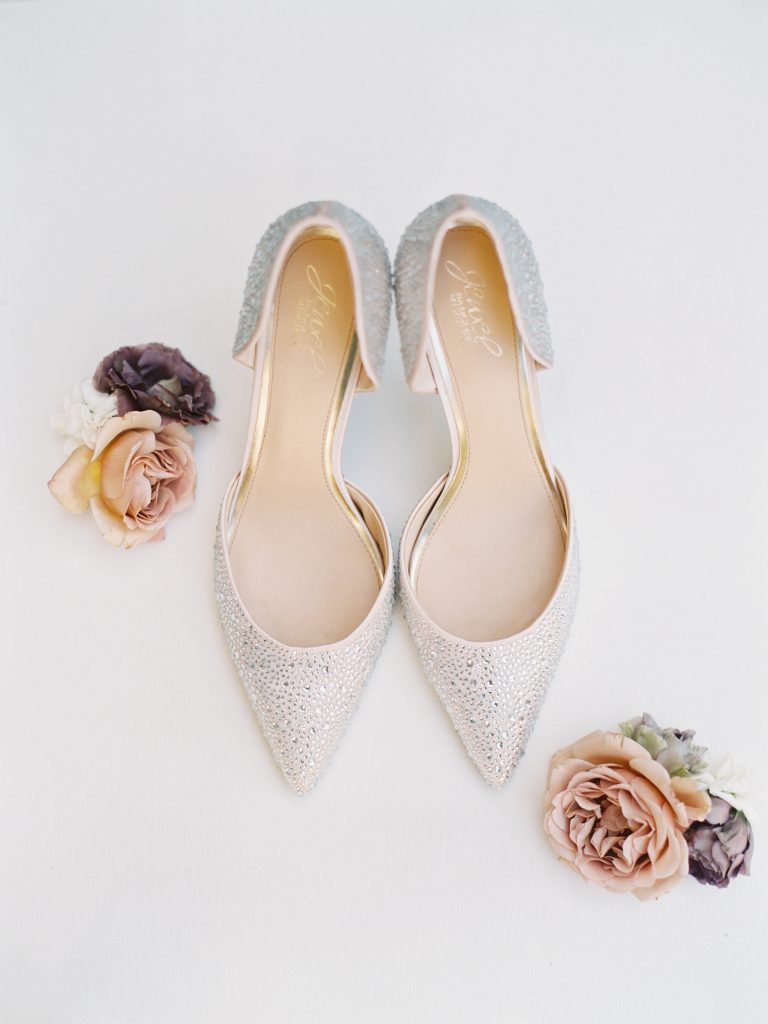
Get creative: Think outside of the box. Don’t be afraid to play around and think of different ways to showcase the different pieces. I sometimes like to use my invitations as a backdrop for other things such as wedding rings. You can use Hoya filters to get those up close macro shots on your Contax. See below!
![]()
Take your time: Wedding days can feel super rushed and that is expected. If you feel you don’t have enough time for your detail shots. Get what you can and then maybe take home the invitation and photograph it at home the next day. I typically ask for the invitation in advance so that I have it before the wedding day. I will try to shoot it beforehand and then also be sure to bring it on the wedding day in case I want to incorporate details the bride has that day. Don’t be frustrated if this process takes longer thank you think. Remember, it is a lot of trial and error and that is ok! Creating successful flatlays is a tedious process but it is also very fun and a great way to be creative. I hope these tips were helpful! Go out, and create some flatlay magic!
If you would like to dive more into this topic or any other others, I do offer mentor sessions for photographers. Please don’t hesitate to reach out if this is something you are interested in! Click here for more information!